
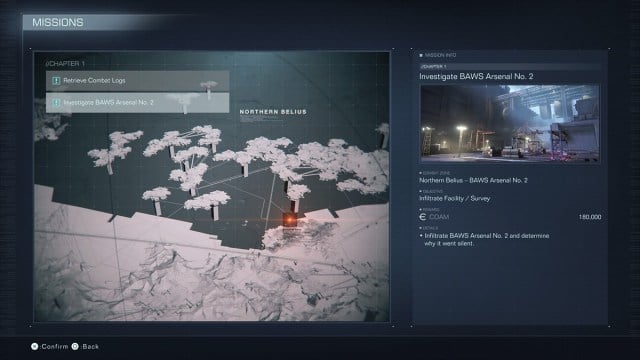
After the big Juggernaut fight, you will be given the choice of two new missions. One of those will be Investigate BAWS Arsenal No. 2. To this point, missions have been pretty straightforward, but this is the point where they diverge a little bit. If you need a little help, we can get you to the end, maybe even with an S rank.
Armored Core 6 Investigate BAWS Arsenal No. 2 Mission Guide
This will either be the ninth or 10th mission you do in the first chapter of Armored Core 6. Its placement depends entirely on that you could have chosen to do the Retrieve Combat Logs mission first instead.
Survey the Arsenal Interior
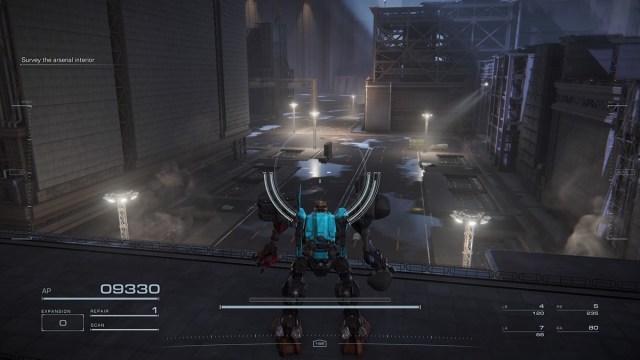
Your first objective once you spawn in will be to ‘survey the arsenal interior’ with an objective marker a little over one kilometer in the distance. From where the marker led you, jump down onto the road below.
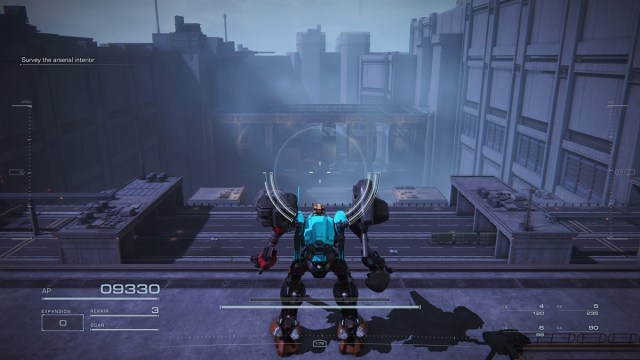
Get yourself to the ground floor, and you’ll encounter a laser-firing enemy from atop the wall in front of you. All you will be able to see are the lasers, as the enemy is cloaked until you get close.
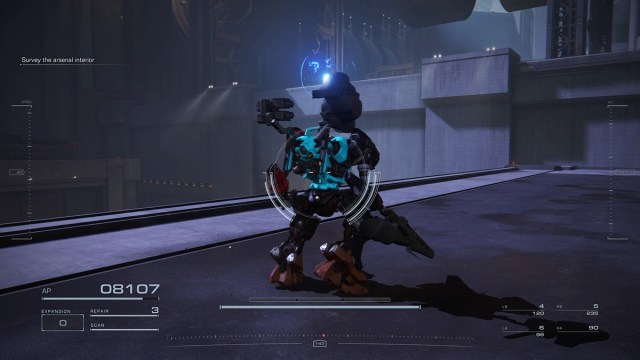
Upon being discovered, it will jump over the wall where you came from.
You’ll once again have to figure out where it went and get close enough to do damage. Stay agile as the lasers fire quickly, so you’ll mostly want to rely on your dodge. If you brought the Vvc-760PR Plasma Rifle with you, it should take the enemy down rather quickly.
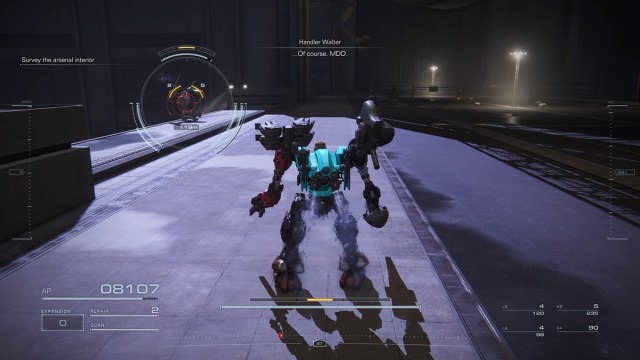
Once it has been defeated, jump back up to the first place it was and continue forward.
You’ll eventually encounter two more laser enemies, but you can use your scanner (down d-pad on consoles, V on PC) to locate them if you lose track. With them both defeated, just keep following the road inward. It will take you up to this door to open.
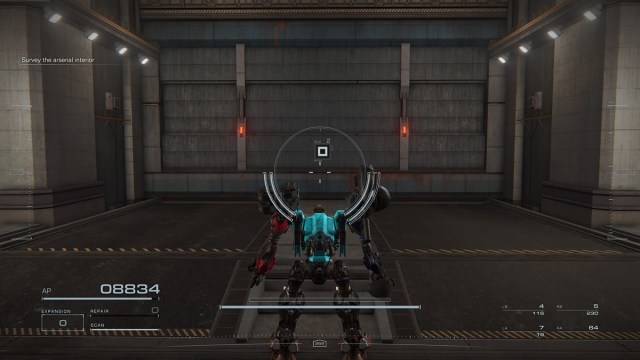
When the door opens, you’ll have to fight off three more of these enemies, which is definitely the hardest section of this mission so far. Defeat them in any order and return to the tunnel you opened up to head for the door on the other end. The game will checkpoint once the door opens.
Head forward, and the Handler will tell you to get closer to the potential Coral response at the bottom of the pit below.
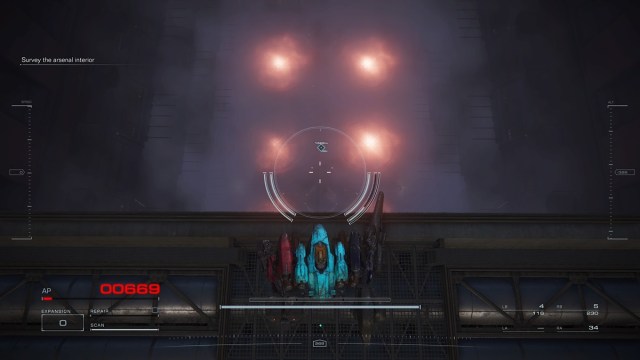
Annihilate Enemy Craft of Unknown Affiliation
Walk into the objective marker, and after a short bit of dialogue regarding your surroundings, four enemies will arrive. Only three of them are the usual laser snipers that will cling to the walls. The fourth has a shield and will stick to the ground to aggressively pursue you.
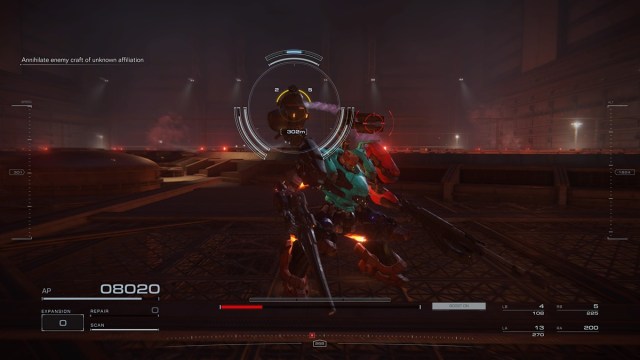
The best tactic here is to focus on the snipers on the walls. Once discovered, they won’t run off, so you can just press them until they die. Now that you are down to only the final shielded enemy keep a bit of distance. Hammer it more with shoulder rockets than your hand weapons to damage the shield the most.
When it is defeated, the Investigate BAWS Arsenal No. 2 mission will be complete, and you can recover your reward of 180,000 COAM (minus expenses). For more Armored Core 6 mission guides, check out our links below.