Of the countless unique challenges found throughout Baldur’s Gate 3, one of the most impactful to the story, and to certain companions, is the Gauntlet of Shar. Should you wish to become a loyal servant of the darkness and help a certain cleric’s story come full circle, you’ll need to pass all of the trials that the gauntlet throws your way. If you need help figuring out how to overcome them, here is our handy guide for how to complete the Gauntlet of Shar in Baldur’s Gate 3 (BG3).
How to Get to the Gauntlet of Shar in Baldur’s Gate 3 (BG3)

Before even beginning the Gauntlet of Shar, you’ll need to know how exactly to get to it, as that in itself can be a challenge. The gauntlet is found past the Last Light Inn at the Mausoleum, which is deep within the Shadow Curse lands. Traversing this area can be very dangerous for your party (even Shadowheart) without adequate protection.
The main item you need is the Moon Lantern, which you can obtain a handful of ways and allows you to safely move through the darkest regions of the blighted lands. Better yet, if you release the pixie held within the lantern, it will bestow you with a bell that allows you to summon it at will to light your way, without needing to hold the lantern in lieu of a weapon.
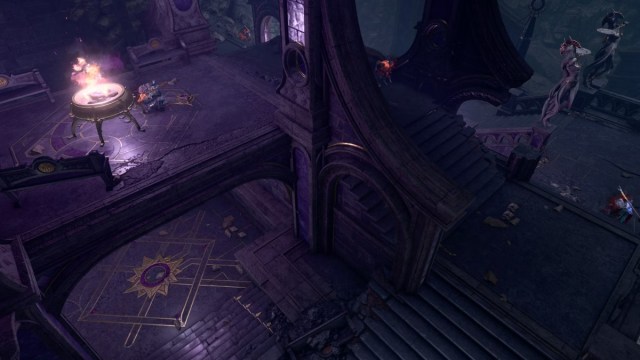
Once you’ve reached the Mausoleum, you’ll need to then complete a puzzle to gain access. Essentially you need to press three different buttons in the correct order for the entrance to the Gauntlet of Shar to open. Each of the buttons is located right underneath a large mural, and is guarded by a trap that must first be disarmed. This calls for the character in your party with the highest Sleight of Hand stats, as failing to properly disarm any of these can result in serious damage to the group.
The three buttons in question need to be approached in the following order:
- The ‘Moonrise Tower’ painting
- The ‘Grief’ painting
- The ‘General’ painting
Properly disarming the trap and pressing the button by the third painting in the sequence (‘General’) will then open a secret passage behind the mural, which you’ll head through to find a room containing a Traversal Gem. This will allow your group to finally travel into the Gauntlet of Shar.
How to Complete the Gauntlet of Shar in Baldur’s Gate 3 (BG3)

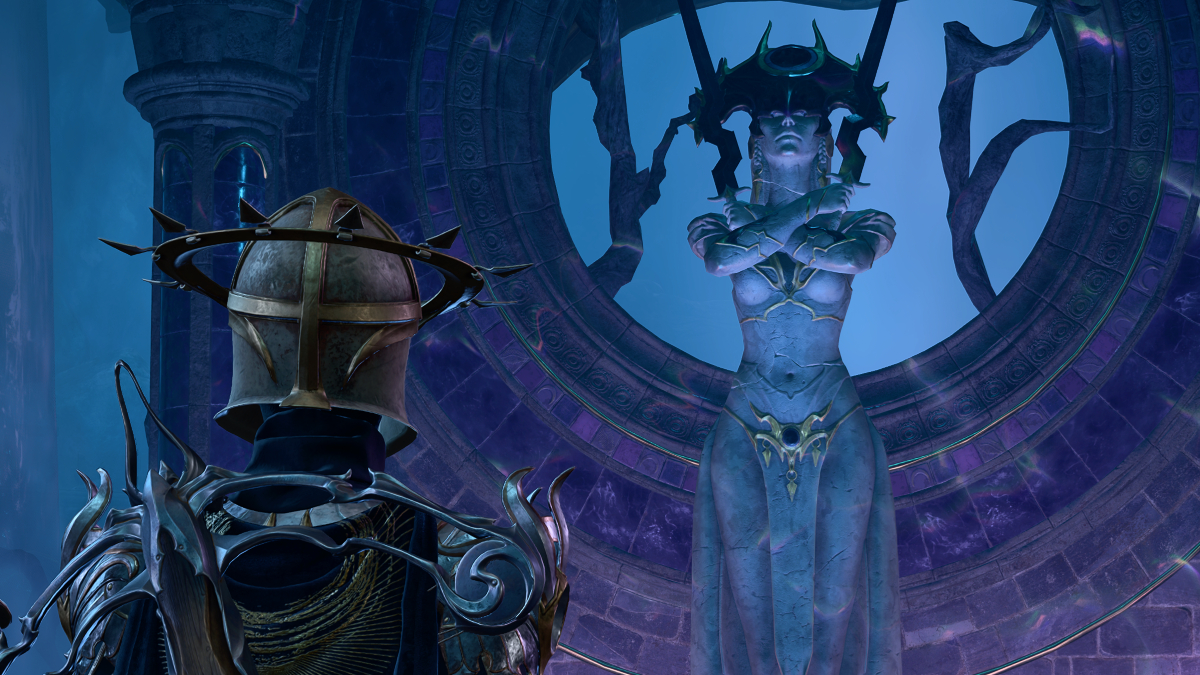
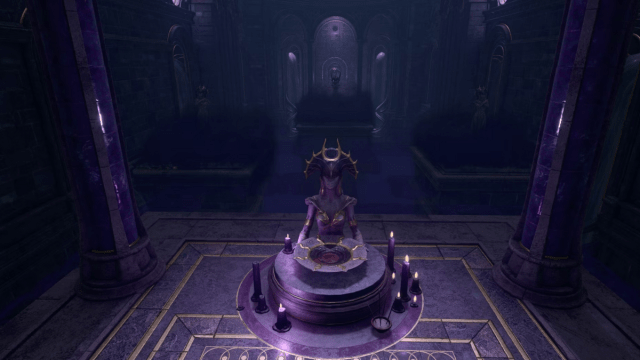
As soon as you enter the Gauntlet of Shar, you’ll immediately be faced with your first of many puzzles and trials. A large statue of Shar sits in the middle of a dark room, surrounded by what is actually a magical barrier etched into the floor. If you attempt to approach it, you’ll be repelled back. The key to solving this puzzle is an item called the Umbral Gem that you’ll need to place in the statue’s arms.
To get your hands on the Umbral Gem, head into the nearby room that contains some skeleton enemies. After defeating them, head down a set of stairs adjacent to the statue to Orthon’s Room, where a fearsome Displacer Beast will be standing guard. This enemy is especially difficult, so make sure your party is healed up and set for battle. Once it’s vanquished, the Umbral Gem will be yours for the taking.
Make your way back to the main room where the Shar statue is, and look for levers that you’ll need to pull. Each one brings down a lantern from the ceiling, and they need to be extinguished to reveal the visible form of the barrier blocking the statue, and the gaps within it for you to carefully maneuver.
Squeeze your way through to reach the statue, and place the Umbral Gem in its designated spot. This will give you another Traversal Gem to proceed to the next portion of the gauntlet, which consists of three different trials for you to overcome. Each of these trials will give you an Umbral Gem, which you’ll need to access the Inner Sanctum of Shar to complete the Gauntlet.
Trial #1: Self-Same Trial
This first trial is an ironic one, as when you go through the ‘Same-Step’ Door you’ll be faced with shadow versions of your own party, that you must defeat. Beware as they’ll be equipped with all of the same gear and spells as your actual party, making this fight a very unique challenge. You could also try to attempt it by shedding your powerful arsenal and fighting bare-bones, making your mirror images weak as well, but that’s entirely up to you. Defeat your imposters and an Umbral Gem will be yours.
Trial #2: Soft-Step Trial
This second trial will require you to have a somewhat good sense of direction, and be nimble on your feet as the name entails. This time you’ll have to navigate a literal maze, all while dodging and/or disarming traps and staying out of reach of two ghosts that chase you along the way. While you can attempt it with your whole group, in order to avoid getting tripped up by traps and ambushed by the ghouls, you actually should consider going solo. Whomever in your party has the best Stealth and Dexterity stats for handling traps and staying out of sight, such as Astarion, will likely make this ordeal much easier. Escape the maze and another Umbral Gem is yours.
Trial #3: Faith-Leap Trial
The third and last trial could arguably be the most tense one of all. You’ll find yourself on a nearly invisible walkway of tiles that stretches precariously across a giant dark abyss. Should you slip on the wrong tile and fall, you’ll die instantly. Instead of trying to take the whole party across at the same time, it’s recommended to have one person at a time attempt to make their way across. Should they find the wrong tile and fall, someone else in the group can pick them back up and help you remember where not to step.
Making it all the way across will complete the trial, and give you the last Umbral Gem you need to reach the Inner Sanctum of Shar, where Dark Justiciars are officially initiated. This all has a major impact on the main campaign, particularly Shadowheart’s story, and can significantly affect the outcome of the final stretch of your journey. Bear that in mind as you face the choice of becoming one with the darkness.
That concludes our guide for how to complete the Gauntlet of Shar in Baldur’s Gate 3 (BG3). We hope you found this helpful, and let us know how you enjoyed the arc of Shadowheart.
Be sure to check out all of our other guides for Baldur’s Gate 3, such as Advantage and Disadvantage in Combat, Explained.